High Heels and Training Wheels: {Bloggerific Tutes Tuesday} Using an Image Map

header1

4.30.2013

{Bloggerific Tutes Tuesday} Using an Image Map

Hey guys! Back with another bloggy tutorial! Today is using an image map. Only the greatest thing ever. If you use a custom image for your header or your page tabs, this information is invaluable. Swear. 
So maybe you've already added your custom image and made that image into a link with some big ol' long code that looks something like this:
And for every element, you have to add a separate gadget with this code. In the beginning I had a separate gadget for my header and each page tab. You do the math. That's a lot of gadgets and a lot of coding. Is there another way?? Yes, there is! A great site called Image Maps and it will save you so much time and confusion. It's idiot proof. Seriously. 
Now, I'm not going into detail on how to design your images today. That's a whole other post. I used Photoshop to make my header and page tabs (and button and sidebar labels and post signature, yada, yada, yada) and Photoshop can be difficult enough. So today will just be how you can easily implement those already made images on your blog with links using the image map. 
So when you go to the site, you will see this screen:
click images to enlarge


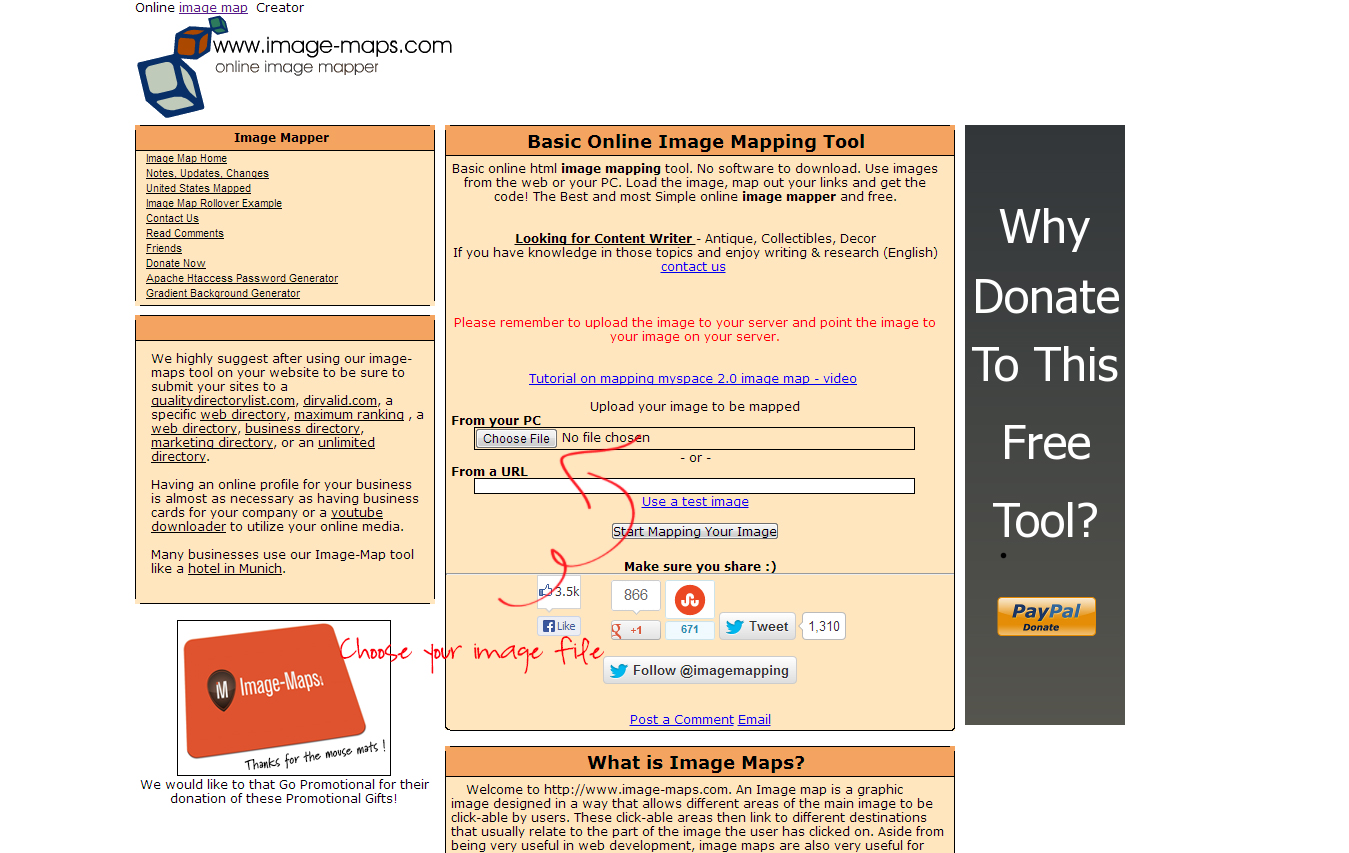
Click 'Choose File' to upload your image. Then click 'Start Mapping Your Image' and your image will load to the site.


Click 'Select Rectangle' to start mapping your image.


Move and resize the rectangle to fit over where you'd like your link to be clickable. For instance, I want people to be able to click anywhere on the word 'home' to take them to my homepage, so I make my rectangle to cover just that word. In the 'Link for this map' blank, enter where you want this link to take them. Obviously for this one, I would enter my homepage URL. Click 'Save' and continue to do this for your entire image. 


Click 'Get Your Code'


Select 'HTML Code' to get the proper code to implement in your Layout page. You see that big long code there? That just combined all over your images and their links and set the boundaries for each one all in one simple code. That means one simple gadget on your Layout page. So now all you have to do is go to your Blogger dashboard and click 'Layout' and then 'Add Gadget'


Then select 'HTML/JavaScript'


Enter your copied code into the new gadget and click 'Save'. Move your gadget on your Layout page to where you would like it to be and Boom! You are done! Now you have one neat little gadget on your Layout which clears clutter and confusion and you can always change it later without messing with the code. Just go on back to Image Map to edit. Hope this makes things a little easier for ya, it was a lifesaver for me!

 photo Signature.png
You can also find High Heels on Bloglovin'TwitterFacebook and Pinterest!


Related Posts Plugin for WordPress, Blogger...
09 10 11 12
Blogging tips